Hallo everyone :)
 Today's article is really important for all the girls out there who are keen on make up .
Ever wondered how can make up artists achieve a totally professional and flawless look even though you may use exactly the same products?
The answer includes two simple but really important secrets : It's the combination of technique and proper preparation of the skin !
To begin with , most girls just apply a layer of make up or/and some concealer and then go on to eye/lip make up . Some others put on so many layers of liquid make up AND powder trying to hide any imperfection of the skin such as discolourations,black areas,pimples etc.
I don't claim to be a professional make up artist but here's what i've learnt alone all these years through my every-day experience and worked good for me :
The right technique is a matter of exercise and it will take some time till your hand will perfectly handle all the brushes and stuff . But right preparation of your face is the most important step of your skin treatment both for keeping it healthy and ensuring the flawless make up result :)
 To begin with , start with a deep cleanse of your face using a proper antibacterial face soap . Avoid 'make up removing tissues' since they remove your make up but don't clean deeply your skin - a really important process to keep it clean and soft .
You can find a review of facial soaps by me here .
TIP:
 You can use a scrub for your face weekly( depends on your skin type - sensitive and dry skins shouldn't be scrubbed more than 2-3 times per month)
Next step is wiping your face gently with a CLEAN and DRY towel . ( Wet towels are perfect places for fungal growth so be careful )
Right after apply your hydrating cream and let it be absorbed completely .
Let's get serious now . Even if there are pimples or such imperfections on your skin , applying heavy layers of aaaaaaaaaany product won't make them disappear. Most of the times heavy layers make them bolder and noticeable . Though, there are some tips to 'hide' them but be a realist on your expectations ! :)
Here comes the part of skin correction :
Part one : CONCEALER
 This is the most important step to get a flawless skin . You can either work with a pallet of different concealer colours or if you don't own one ( don't worry - me neither ) you will work with the typical one coloured concealer and some NON GLITTER EYESHADOWS .
Why is it so important?
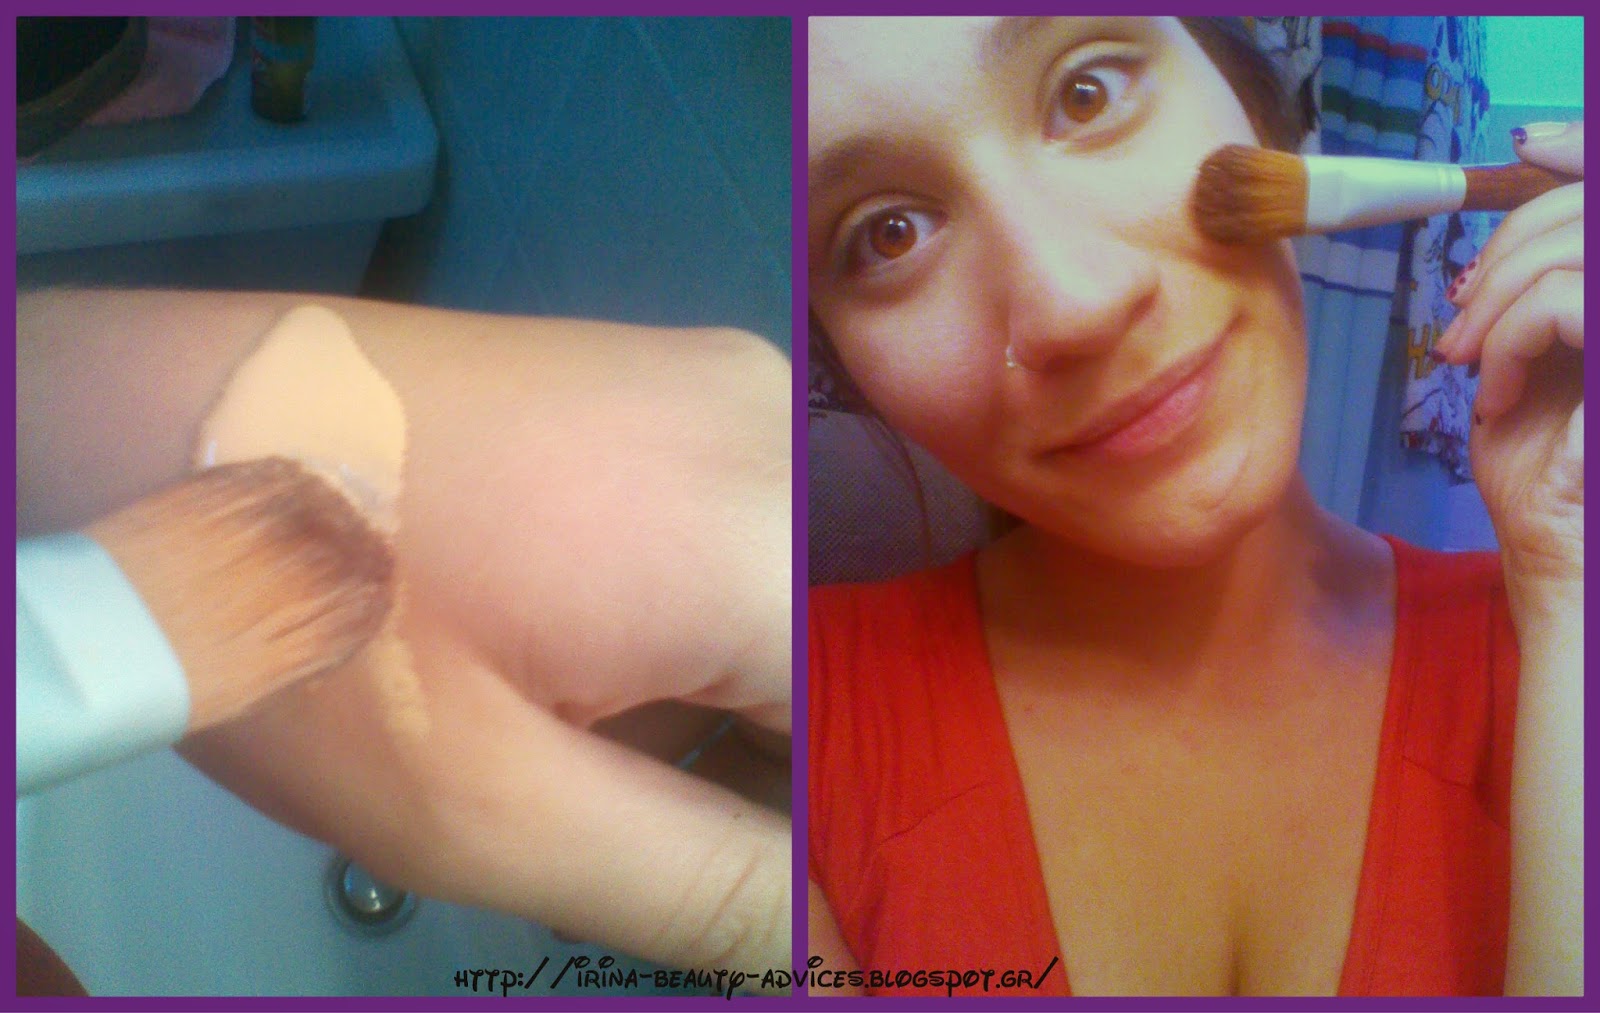
IT'S REALLY IMPORTANT TO CHOOSE THE RIGHT COLOUR OF YOUR CONCEALER AND APPLY IT OOOOOONLY ON THE AREAS YOU NEED IT . Otherwise you'll create a really heavy and fake effect on your skin like the one displayed in the picture. Not charming at all , huh ?
Once you are done with concealer you are ready for......
Part two : FOUNDATION !
Choose the right foundation for your skin both according to colour,skin type and format , i personally prefer BB (from Maybeline New York) and CC (from Tommy G) Creams since they are light giving a really nice result on my skin and the most important : they let it breathe !
Use a brush to apply your foundation instead of using your fingers ! Almost 30% of the whole product will just stay on your fingers ! You can use your fingers just to fix areas such as nose side areas or inner corner of your eyes ( BE SURE YOU HAVE CLEAN HANDS BEFORE TOUCHING YOUR FACE ! )
Also don't forget to wash your makeup brushes once a while using an antibacterial soap and warm water !
Ignoring the basic cleaning rules you let thousands of bacteria grow running a risk for skin infection !
And now you are ready to go on with any other make up part you want :3


Ever wondered how can make up artists achieve a totally professional and flawless look even though you may use exactly the same products?
The answer includes two simple but really important secrets : It's the combination of technique and proper preparation of the skin !
To begin with , most girls just apply a layer of make up or/and some concealer and then go on to eye/lip make up . Some others put on so many layers of liquid make up AND powder trying to hide any imperfection of the skin such as discolourations,black areas,pimples etc.
I don't claim to be a professional make up artist but here's what i've learnt alone all these years through my every-day experience and worked good for me :
The right technique is a matter of exercise and it will take some time till your hand will perfectly handle all the brushes and stuff . But right preparation of your face is the most important step of your skin treatment both for keeping it healthy and ensuring the flawless make up result :)
You can find a review of facial soaps by me here .
TIP:
You can use a scrub for your face weekly( depends on your skin type - sensitive and dry skins shouldn't be scrubbed more than 2-3 times per month)Next step is wiping your face gently with a CLEAN and DRY towel . ( Wet towels are perfect places for fungal growth so be careful )
Right after apply your hydrating cream and let it be absorbed completely .
Let's get serious now . Even if there are pimples or such imperfections on your skin , applying heavy layers of aaaaaaaaaany product won't make them disappear. Most of the times heavy layers make them bolder and noticeable . Though, there are some tips to 'hide' them but be a realist on your expectations ! :)
Here comes the part of skin correction :
Part one : CONCEALER
Why is it so important?
- For any red area on your face ( such as burnings,pimples,cysts etc ) you can use green colour to smooth the redness so either use the green tone concealer from your pallet or mix some green eyeshadow with your concealer and apply the mixture on problematic area.
- Black areas or darker skin parts? Here you can deal with yellow base concealer ( or mix yellow with regular concealer ) and apply it on your skin .
 |
| A super bad/fake/heavy make-up example to avoid. |
IT'S REALLY IMPORTANT TO CHOOSE THE RIGHT COLOUR OF YOUR CONCEALER AND APPLY IT OOOOOONLY ON THE AREAS YOU NEED IT . Otherwise you'll create a really heavy and fake effect on your skin like the one displayed in the picture. Not charming at all , huh ?
TIPS :
- Don't use cyclic movements on the under-eye area - it will make it worse. Try forming triangles.
- Instead of pushing and pulling the skin during your concealer application try just to tap it gently until it's blended with the skin nearby
- If there is a super noticeable big pimple try to apply a product ( cream,gel,whatever you prefer ) that includes salycylic acid - before applying your concealer. It dries the pimple and helps it get smaller .
- For super swollen eyes , before any make up process try any of the methods reffered here (especially step 6)
Once you are done with concealer you are ready for......
Part two : FOUNDATION !
Choose the right foundation for your skin both according to colour,skin type and format , i personally prefer BB (from Maybeline New York) and CC (from Tommy G) Creams since they are light giving a really nice result on my skin and the most important : they let it breathe !
Use a brush to apply your foundation instead of using your fingers ! Almost 30% of the whole product will just stay on your fingers ! You can use your fingers just to fix areas such as nose side areas or inner corner of your eyes ( BE SURE YOU HAVE CLEAN HANDS BEFORE TOUCHING YOUR FACE ! )
Also don't forget to wash your makeup brushes once a while using an antibacterial soap and warm water !
Ignoring the basic cleaning rules you let thousands of bacteria grow running a risk for skin infection !
And now you are ready to go on with any other make up part you want :3
And that was it for today :) Hope you liked my article and found my tips useful for you ! If you like my blog show your love by supporting my page :3
Feel free to leave a comment or contact me to ask/suggest/request anything . You are always welcome to show me your results !
Thank you for viewing my blog :) Come back soon <3
Irina
CONTACT INFORMATION
Skype : irina.alexopoulou
Facebook : ( click on the word to view my profile )
YouTube Channel ( click here to view my channel )

No comments:
Post a Comment